Check your maximum RAM capacity of your system
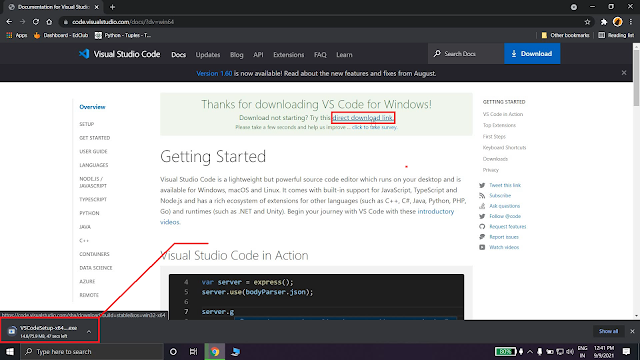
Step 1: Open Powershell.

Step 2: Type the command "(Get-CimInstance Win32_PhysicalMemoryArray).MaxCapacity/1MB"

Step 3: Press Enter. Then you will
see the maximum capacity of RAM you can upgrade in GB.

In my case, the maximum RAM capacity for upgrade is 16GB.
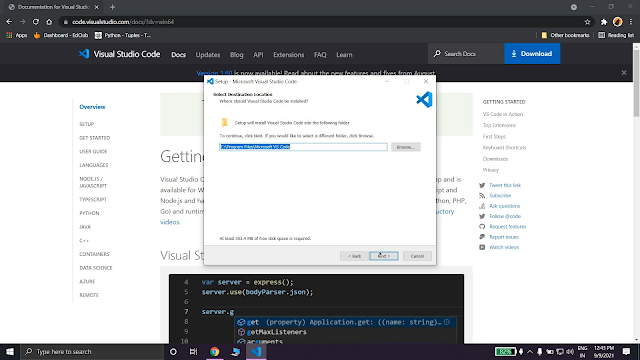
Now one more thing, you need to check the number of RAM slots present in
your PC/Laptop. If it is 1, you can upgrade by one 16GB RAM stick. If it
is 2, you have to upgrade by applying two 8GB RAM stick (8GB + 8GB = 16GB)
for maximum RAM upgrade.
Step 1: Open Powershell.
Step 2: Type the command "(Get-CimInstance Win32_PhysicalMemoryArray).MemoryDevices" and press Enter.

You will find the number of RAM slots which will help you to upgrade
your windows system.