
Step I: Open this link in any browser: https://code.visualstudio.com/
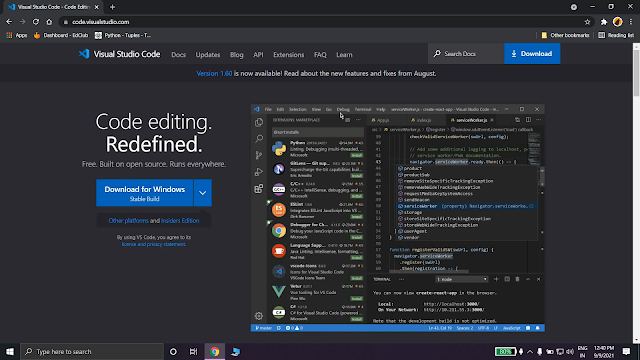
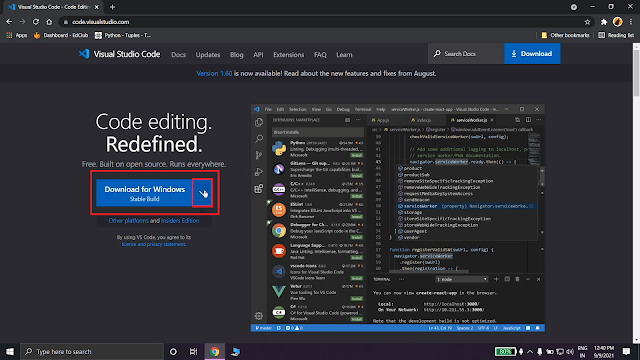
Step II: You will get "Download for Windows" button. You can also download visual studio code by clicking on that for 64 bits else click on that arrow beside the button.
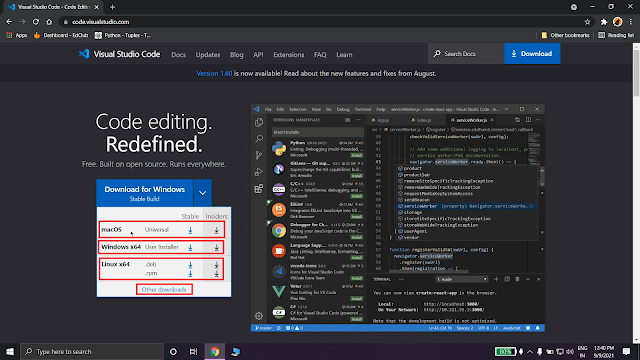
Step III: Now, after that, you can download visual studio code for macOS, windows x64 and linux x64 by clicking the download buttons on the right side. You can download stable version or insider version as your choice. I prefer stable version to download.
Else, you can click on 'other downloads' at the bottom to download for 32 bit or for ARM.
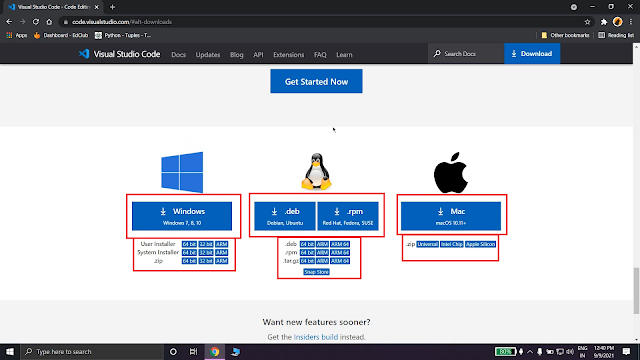
Step IV: After clicking on 'other downloads', you will get an interface like given below. Now you can download visual studio code for windows, linux or mac. You will get many options there so you can select them according to your choice and download it.
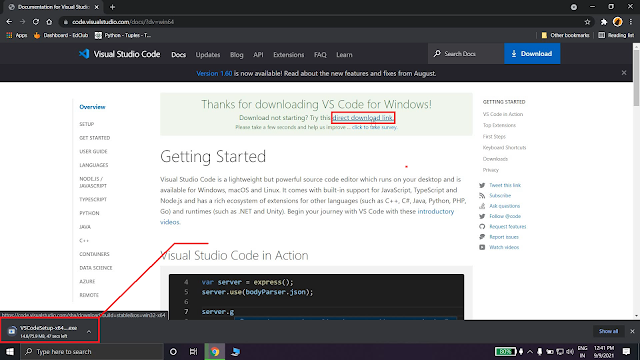
Step V: After clicking any of it, the download will start automatically within 15 seconds. If download didn't start then click on 'direct download link' to download it again.
Step VI: After downloading it, open it and accept the License Agreement and click Next.

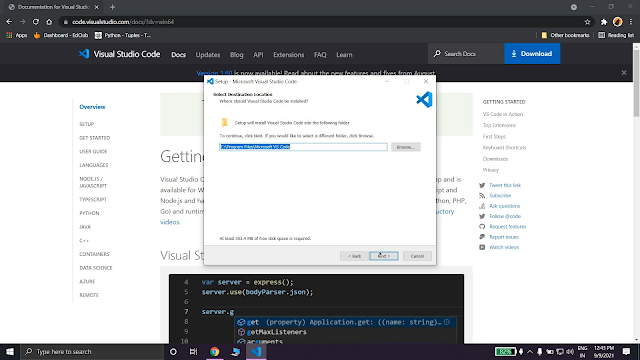
Step VI: Select the path where your visual studio code will install. I prefer let it be set default. Then click Next.
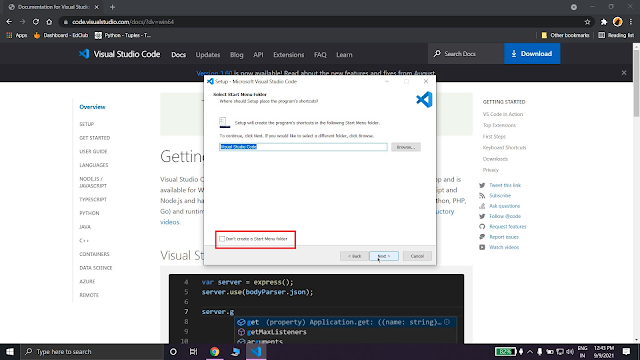
Step VII: If you want to create a folder of Visual Studio code in Start Menu then click Next else check that check box at bottom and then click Next.
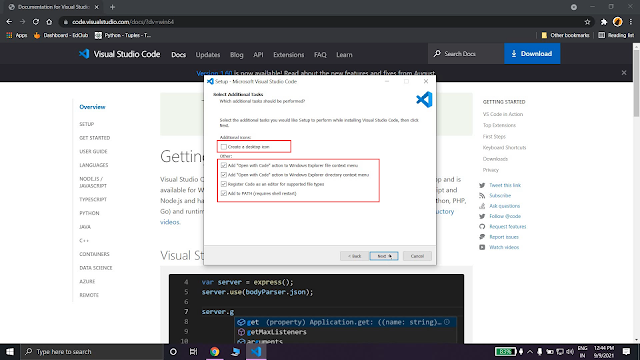
Step VIII: If you want to create a shortcut of visual studio code in desktop then check the first box else uncheck it. then check all the rest check box and click next.
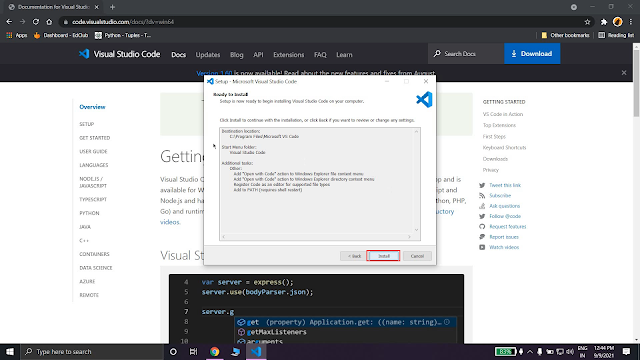
Step IX: Verify your settings and click on install button.
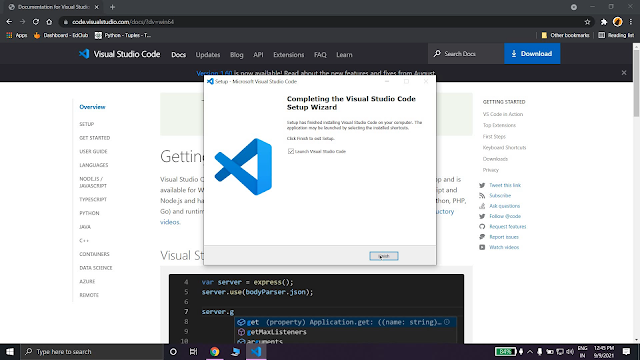
Step X: At last after installation completes, click on Finish. Your visual studio is now installed successfully. Now, enjoy it.
Video:


0 Comments: